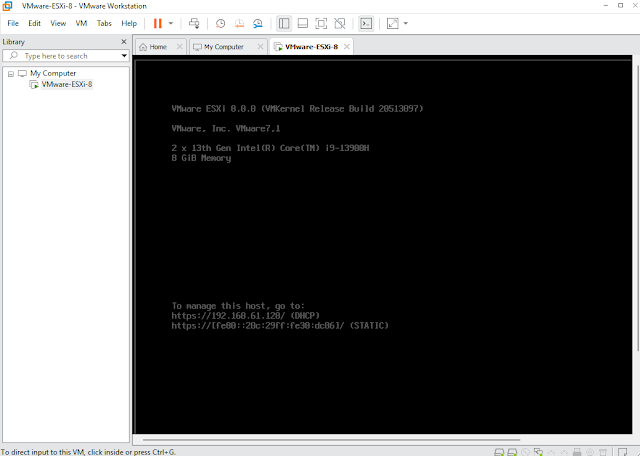
Configure
Networking to assign static IP address Using DCUI (Direct Console User
Interface)
This is useful if you’re directly at the ESXi machine.
✅ Steps:
- Power
on your ESXi host.
- On the
yellow-gray screen, press F2 to enter System
Customization.
- Enter
the root password.
- Select
Configure Management Network.
- Choose
IPv4 Configuration:
- Select
Set static IPv4 address and network configuration
- Enter:
- IP
Address (e.g., 192.168.1.100)
- Subnet
Mask (e.g., 255.255.255.0)
- Default
Gateway (e.g., 192.168.1.1)
- Press Enter
to save.
- Optional:
Choose DNS Configuration to set:
- Hostname
- Primary
and Secondary DNS
- Back
out and choose Apply changes and restart management network.
- Press Y
to confirm.
✅ Done! The static IP is now set.
🖥️ Enable EXSi
Shell via Direct Console User Interface (DCUI)
This is the method to use if you're physically at the server
or using remote KVM/iLO/iDRAC access.
✅ Steps:
- On the
ESXi host, go to the yellow-gray screen (DCUI).
- Press F2
to Customize System.
- Enter
the root password.
- Navigate
to:
- Troubleshooting
Options
- Enable:
- ESXi
Shell
- (Optional)
SSH if you want to access ESXi remotely via terminal.
- Press Enter
to toggle each service on/off.
✅ You’ll now see “ESXi Shell is
enabled” in the status bar at the top.


0 Comments